Golf Simulator Room Ideas 2026: 12 Setups for Every Budget
Last updated: September 18, 2026
Golf simulator room ideas and setup designs for every budget, with floor plans and equipment recommendations from XS Golf.
The golf simulator room question is not “how much space do I need?” — it is “what can I do with the space I have?” We have seen functional setups in 8-foot garage bays, converted shipping containers, basement corners, and dedicated 20×20 rooms. The principles are the same. The execution scales with budget and space.
This guide covers 12 real-world setup configurations — the minimum requirements for each, the right equipment to match, and the design decisions that separate a frustrating space from one you use every day.
The three budget tiers
Room dimensions: the non-negotiables
Before any equipment decision, three measurements determine everything else. Ceiling height is the most critical constraint — 9 feet is the practical minimum for driver swings, and 10 feet or more is recommended for a comfortable full swing. See our ceiling height standard. Sub-9-foot ceilings require an adjusted setup with the ball position moved forward and driver use restricted. Width should be at least 12 feet to allow a full swing without the follow-through hitting a wall. Depth — the distance from the hitting position to the back wall — should be at least 5 feet, ideally 8, to allow a natural stance and a proper impact position without anxiety about the wall behind you.
The standard Carl’s Place 10×10×10 enclosure, used in our $5,000 garage simulator build, requires a 12-foot-wide room minimum. Tighter than that and the side barriers cannot deploy fully.
Setup 1: The garage corner — $2,500
The minimum viable simulator. A hitting net replacing an enclosure, a launch monitor on the floor, a tablet mount for data, and a hitting mat. No projection — just data. This setup is for golfers who want feedback on their swing without course play.
Equipment: Garmin R10 ($599) + Rukket Haack net ($149) + Dura-Pro mat ($199) + tablet stand ($30). Total: approximately $977.
Best for: Apartment dwellers with a car park space, first-time simulator buyers testing commitment, golfers who primarily practice outdoors and want winter data.
Setup 2: The garden shed conversion — $3,000
A 12×16 garden shed with a concrete base converts well — insulation, a 240v socket, and a dehumidifier resolve the environmental issues. The fixed walls replace the enclosure side barriers. The rear wall becomes the impact surface with a net or basic screen attached directly to the studs.
Equipment: Rapsodo MLM2PRO ($699) + DIY screen and net ($400) + projector ($649) + mat ($300). The shed structure replaces the enclosure cost entirely.
Setup 3: The single-car garage bay — $5,000
The most common simulator setup in the UK and US. A standard single-car garage bay is typically 10×20 feet — enough for a full 10×10 enclosure with 10 feet of swing room behind. This is the setup our $5,000 build guide is designed around, with the SkyTrak MAX as the centrepiece launch monitor.
Key decisions at this tier: projector placement (short-throw mounted to the ceiling at 8–9 feet beats a floor unit for image quality and ball clearance), and whether to insulate the garage door (a £200–400 investment that transforms the experience in cold climates).
Setup 4: The dual-bay garage — $6,000–$8,000
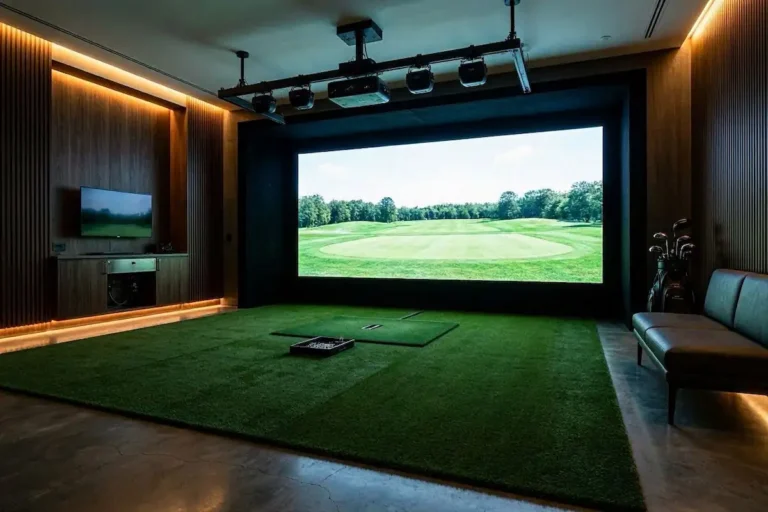
Two-car garages give you a luxury the single-bay cannot: a real seating area. With a 20-foot width, the enclosure sits in one half while the other becomes a lounge — a sofa, a small screen showing the data overlay, and room for a putting mat. This is the configuration that makes the simulator feel like a venue rather than a piece of equipment.
Setup 5: The basement build — $5,000–$7,000
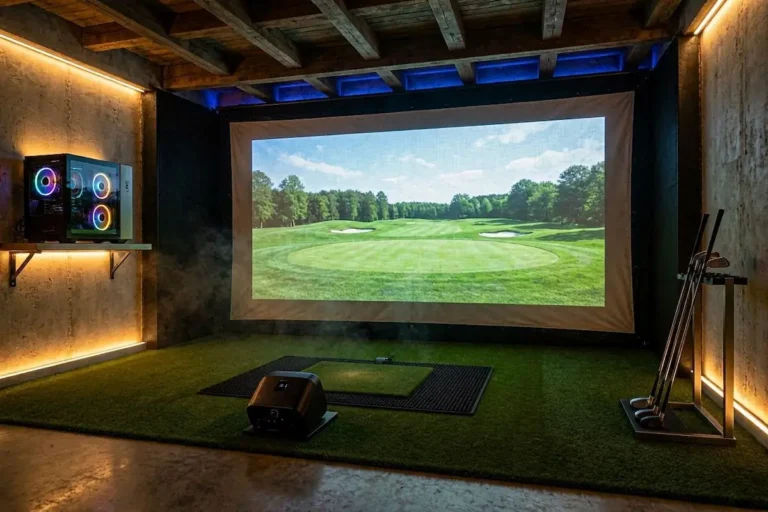
Basements introduce the ceiling height problem — many UK cellars are 7.5–8.5 feet, which rules out driver use. For basements with 9+ feet, the acoustic advantage is significant: concrete walls absorb impact sound far better than timber-frame garage construction. A basement simulator at $5,000 will sound and feel more premium than a garage build at the same budget.
Specific considerations: dampness (a dehumidifier is non-negotiable below grade), lighting (no natural light means you control the environment — use bias lighting behind the screen for eye comfort), and internet connectivity if you are using cloud-based course software.
Setup 6: The dedicated room — $8,000–$12,000
A purpose-built or converted room changes the simulator from a training tool to a destination. The floor plan at the top of this article shows the optimal 12×14-foot layout — enclosure against the front wall, 5 feet of walkway behind, seating and storage on the sides.
At this tier, invest in: acoustic panels on the side walls (4×2-foot panels at each side, around £300 total), a dedicated 20-amp electrical circuit, proper lighting on a dimmer, and a 4K projector — the Optoma UHD38 ($999) at this room size transforms image quality over a 1080p unit. See the full equipment breakdown in our $10,000 pro-level setup guide.
Lighting: the detail most guides ignore
Lighting affects both the simulator experience and the accuracy of photometric launch monitors. Bright overhead fluorescent lighting washes out the projected image and interferes with camera-based devices like the SkyTrak MAX and Bushnell Launch Pro. The correct setup: bias lighting (LED strip behind the screen, directed at the wall, not the room) plus dimmable overhead to 20–30% during play.
For radar-based devices (Garmin R10, Flightscope Mevo+), lighting is less critical — radar is not affected by ambient light. But the projected image still benefits from a darkened room. See our launch monitor comparison for the full breakdown on which devices are more sensitive to environmental conditions.
The putting green add-on
A 9×12-foot SYNLawn Golf Pro putting green alongside the simulator converts a practice setup into a complete short-game environment. Budget $1,500–$2,000 for a quality artificial green with variable-speed inserts. In a 12×14-foot dedicated room, the green occupies the side wall opposite the seating — placing it within 3 steps of the hitting position so transitions between full swings and putting practice take seconds, not minutes.
Software: choosing for your room
The software experience scales differently than the hardware. A $5,000 setup with excellent software (E6 Connect or GSPro on a good projector) can feel more impressive than a $10,000 setup with poor software on a low-brightness projector. Our golf simulator software guide covers every major platform with specific projector and launch monitor pairing recommendations.
Current best prices on the equipment in this guide
Prices in this category change often, and sale prices come and go, so check the current price before you buy. Our golf simulator deals guide collects the deals we have found.
Some links on XS Golf are affiliate links. See our affiliate disclosure.